 Pouch Laminating Machines
Pouch laminators are needed for the thermal laminating pouches which are the best value and most common way to protect individual documents and signs. Very simple to operate, here we offer a few of our best performing machines up to A2 size. If you are doing much smaller pouches up to A5 size you may need to use a cardboard pouch carrier to protect the printed materials. If you would like any more information just contact us for advice.
- Sale!

GBC Foton 30 A3 Automatic Laminator
£469.00 Ex. VAT -

Foton 30 Laminating Film and Refill Cartridges
From £58.89 Ex. VAT -

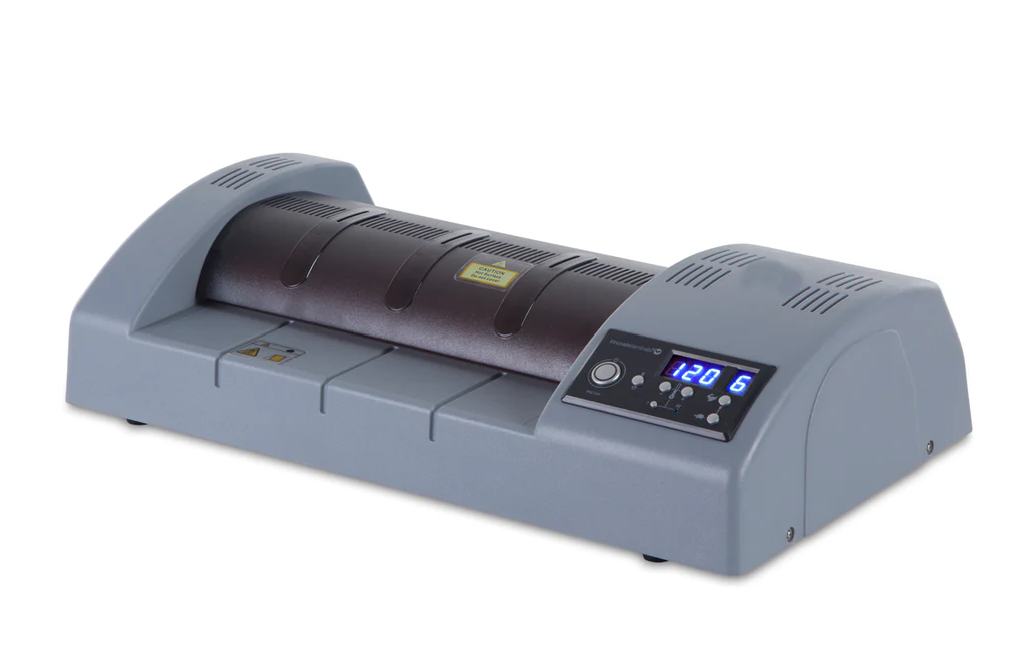
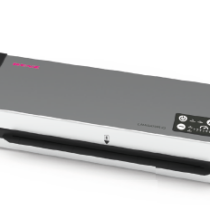
Professional A2 Laminator
£425.00 Ex. VAT -

Renz Lamigator IQ A3 Pouch Laminator
£425.00 Ex. VAT -

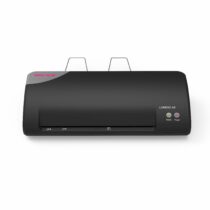
Renz Lamigo Pouch Laminator A3
£143.00 Ex. VAT -

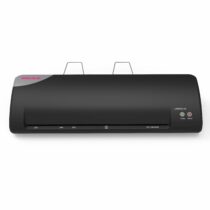
Renz Lamigo Pouch Laminator A4
£118.00 Ex. VAT -

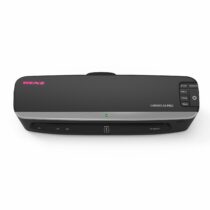
Renz Lamigo Pro Pouch Laminator A3 Pro
£198.00 Ex. VAT
What do I need to know about using pouch laminator machines?
Using a laminating machine with pouches is a straightforward process, and following these steps will help ensure a smooth and successful lamination. Here’s a step-by-step guide:
Materials Needed:
- Laminating Machine:
- Ensure the laminating machine is in good working condition and suitable for the size of the laminating pouch.
- Laminating Pouch:
- Choose the appropriate size and thickness of the laminating pouch for your document or item.
- Document or Item:
- Place the document or item you want to laminate inside the laminating pouch. Ensure there is an even border around the edges for proper sealing.
Steps:
- Turn On the Laminating Machine:
- Plug in the laminating machine and turn it on. Allow it to warm up according to the manufacturer’s instructions.
- Adjust Temperature Settings (if applicable):
- Some laminating machines allow you to adjust temperature settings based on the thickness of the laminating pouch. Consult the machine’s user manual for specific instructions.
- Insert the Laminating Pouch:
- Open the laminating pouch and place the document or item inside, ensuring it is centred with an even border around all edges. If the pouch has a sealed side, make sure the open side is facing into the machine.
- Feed Pouch Into the Laminating Machine:
- Insert the laminating pouch into the laminating machine. Depending on the machine, you may need to align it with guide marks or feed it through specific rollers.
- Wait for the Machine to Grab the Pouch:
- Once the laminating machine has grabbed the pouch, it will automatically pull it through the machine.
- Collect the Laminated Document:
- As the laminated document exits the machine, carefully collect it. Be cautious, as the document may still be hot.
- Allow Cooling Time:
- Allow the laminated document to cool and set. This ensures that the adhesive fully bonds with the document, creating a secure and durable seal.
- Trim Excess Edges (Optional):
- If there is any excess laminate around the edges of the document, you can trim it with scissors or a paper cutter for a clean finish.
Tips and Considerations:
- Use Carrier Sheets (if provided):
- Some laminating pouches come with carrier sheets. Follow the manufacturer’s instructions regarding whether to use a carrier sheet to protect the laminating machine’s rollers.
- Avoid Overlapping Pouch Edges:
- Ensure that the edges of the laminating pouch do not overlap. Overlapping may cause uneven lamination and reduce the effectiveness of the seal.
- Follow Manufacturer’s Guidelines:
- Always refer to the user manual or guidelines provided by the laminating machine’s manufacturer for specific instructions and maintenance tips.
By following these steps and considering the provided tips, you can effectively use a laminating machine with pouches to protect and enhance your documents or items.
