Yes, you can absolutely make and bind your own calendars for customers or for your own projects. It can be a creative and rewarding project as well as a great way to add services to your company and add extra options and value for customers. Here’s a basic guide to help you get started:
Materials and Tools Needed:
- Calendar Pages:
- Create or print the monthly calendar pages with each month’s dates and any additional information you want to include.
- Cardstock or Heavy Paper:
- Choose a durable material for the cover and back page. Cardstock or heavy paper is recommended for added sturdiness.
- Binding Elements:
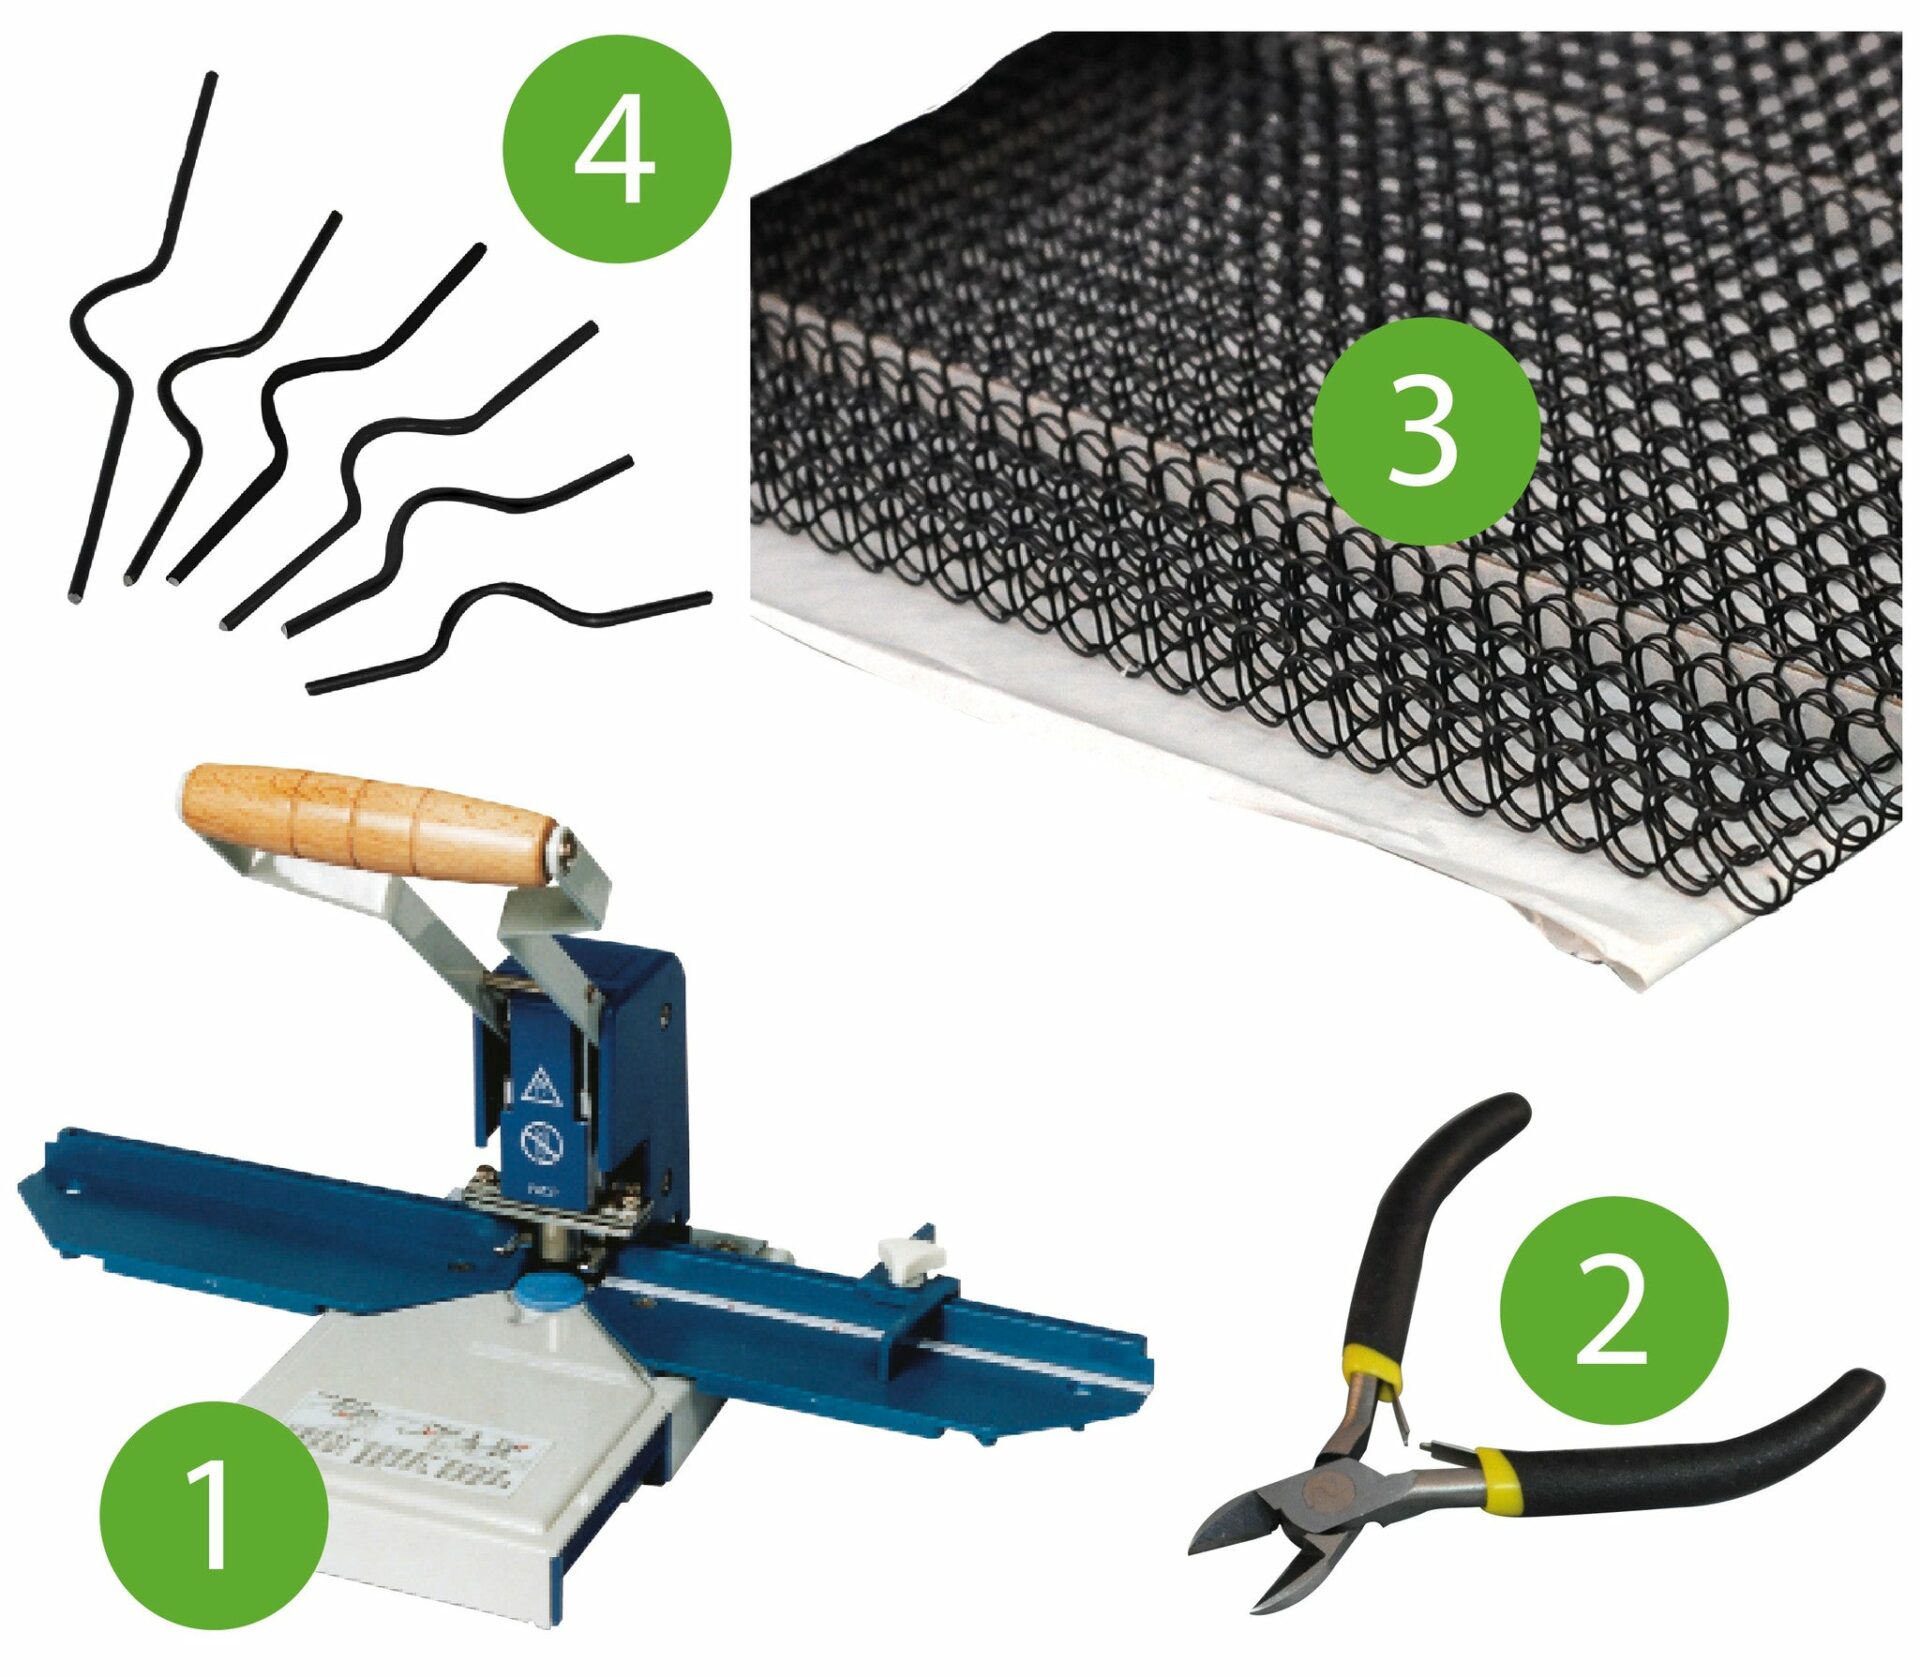
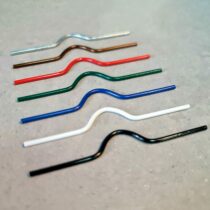
- Decide on the binding method you’d like to use. Most common option is twin loop wire binding but some companies do offer plastic coils, binding combs, or even simple hole punching with rings.
- Binding Machine:
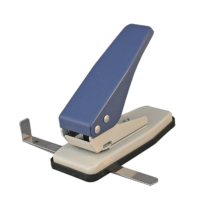
- If you choose a binding method like plastic coils or twin loop wire, you’ll need the corresponding binding machine. If you’re using simple hole punching, a standard hole puncher may suffice.
- Binding Covers (Optional):
- Consider using clear plastic covers or decorative covers to protect the front and back pages.
- Decorative Elements (Optional):
- Personalise your calendar with decorative elements like stickers, washi tape, or illustrations.
Steps:
- Design Your Calendar:
- Create or design the layout of your calendar pages. Include space for each day, important notes, and any other details you want to add.
- Print Calendar Pages:
- Print your calendar pages. Ensure the print quality is suitable, especially if you’re planning to gift or share the calendar.
- Create Covers:
- Cut your chosen cardstock or heavy paper to create front and back covers. You can add decorative elements or use a clear plastic cover to protect the pages.
- Punch Holes:
- If using a binding method that requires holes (such as plastic coils or twin loop wire), use a binding machine or hole punch to create evenly spaced holes along one edge of the calendar pages.
- Bind the Calendar:
- Depending on your chosen binding method, thread the plastic coils or twin loop wire through the punched holes. If using a ring binder, assemble the pages accordingly.
- Crimp or Close Binding (if applicable):
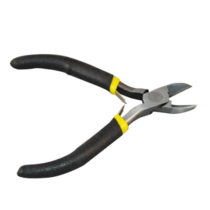
- If you’re using plastic coils or twin loop wire, use a crimping tool to secure the ends of the binding elements.
- Final Touches:
- Add any final decorative touches or personalised elements to enhance the overall appearance of your calendar.
- Check Binding and Durability:
- Ensure that the binding is secure, and all pages are in order. Test the durability by flipping through the pages to make sure they stay in place.
- Optional: Laminate or Seal (for extra durability):
- If you want added protection against wear and tear, consider laminating the pages or using a clear sealant spray.
- Share or Gift:
- Your calendars are now ready to deliver to your customer, use, share, or gift.
Remember to choose a binding method that suits your preferences and the overall aesthetic you want for your calendar. The process can be as simple or as elaborate as you desire, allowing for a truly customised and personalised end result.
 Calendar Making Supplies