 Tapes for Signage
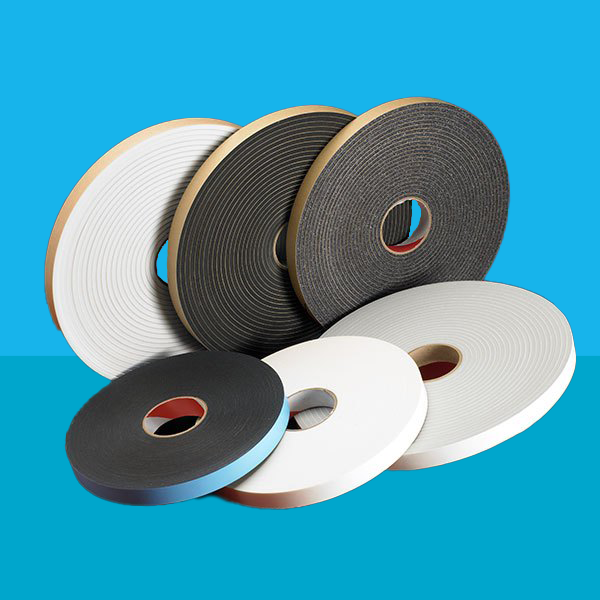
A wide range of ultra strong tapes for signage construction in metal or plastic, everything from interior and exterior foam tapes to VHB (very high bond) tapes from 3M and Guarantape. Glue tapes and foamed acrylic tapes as well as flat polyester and easy-tear acrylic tapes – just request a sample to test on your work.
-

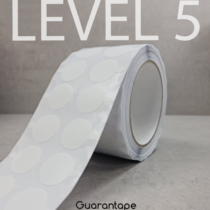
Endurance Double Sided Adhesive Discs – Adhesive Level 5
From £13.89 Ex. VAT -
Extreme Easy-Tear Double Sided Tape – Adhesive Level 6
From £8.87 Ex. VAT -
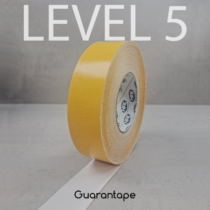
Banner Hemming Tape Single Sided – Adhesive Level 5
From £23.20 Ex. VAT -
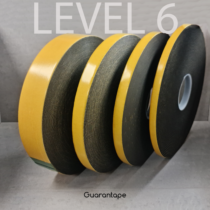
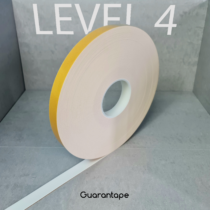
Extreme Foam Tape – Guarantape Level 6 Adhesive
From £18.67 Ex. VAT -
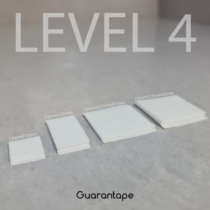
Foam Pads Double Sided – Adhesive Level 4
From £10.85 Ex. VAT -
Foam Tape Double Sided – Adhesive Level 4
From £8.08 Ex. VAT -
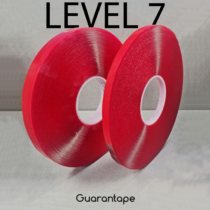
Glue Discs Double Sided – Adhesive Level 7
From £50.45 Ex. VAT -
Glue Tape Double Sided – Adhesive Level 7
From £22.80 Ex. VAT -
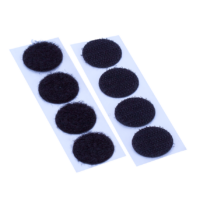
Hook and Loop Dots – Self Adhesive
From £15.03 Ex. VAT -
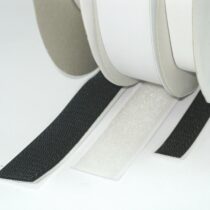
Hook and Loop Tape – Sew On
From £9.10 Ex. VAT -
Hook or Loop Tape – Adhesive
From £8.52 Ex. VAT -
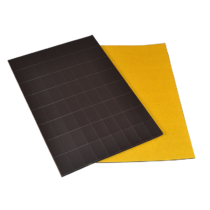
Magnetic Adhesive Cut Strips
From £40.85 Ex. VAT


How do I use double sided tapes in signage?
Double-sided tapes are commonly used in sign construction for mounting various sign components and creating clean, adhesive bonds without the need for visible fasteners. Here’s how you can use double-sided tapes in sign construction:
- Material Preparation:
- Ensure that the surfaces to be bonded are clean, dry, and free from dust or debris. Clean the surfaces with a suitable cleaner if necessary.
- Select the Right Tape:
- Choose a double-sided tape suitable for the specific materials you are working with and the environmental conditions the sign will face. Consider factors like weight, weather resistance, and substrate compatibility.
- Cut the Tape to Size:
- Cut the double-sided tape to the desired length using scissors or a knife. Ensure that the tape pieces match the size and shape of the areas where bonding is required.
- Apply the Tape to the Substrate:
- Peel off one side of the tape’s protective liner and apply the adhesive side to one of the sign substrates. Press down firmly to ensure good contact.
- Align and Attach Components:
- Align the components you are bonding, making sure they are in the correct position. Once aligned, press the components together to bond them using the adhesive tape.
- Apply Pressure:
- Apply firm and even pressure on the bonded areas to ensure proper adhesion. This can be done by using a roller, a clean cloth, or your hands.
- Bonding Time:
- Allow the double-sided tape to bond for the recommended time. The bonding time can vary depending on the specific tape used, so refer to the manufacturer’s guidelines.
- Repeat the Process:
- Repeat the process for additional components or sections of the sign that require bonding. Ensure proper alignment and apply pressure to each bonded area.
- Trim Excess Tape:
- Trim any excess tape protruding from the edges of the sign for a clean and finished appearance.
- Consider Weight Distribution:
- If the sign is relatively heavy, distribute the weight evenly across the bonded areas to prevent any stress concentration on a specific point.
- Weatherproofing (If Necessary):
- If the sign will be exposed to outdoor elements, ensure that the double-sided tape used is weather-resistant. Consider applying additional sealants or coatings for added protection.
- Testing:
- Once the components are bonded, perform tests to ensure the strength and durability of the bond. Check for any signs of weakness or separation.
Common applications of double-sided tapes in sign construction include mounting letters or logos, bonding face materials to sign substrates, attaching trim or edging, and creating clean and secure bonds without visible fasteners. Always follow the manufacturer’s recommendations for the specific double-sided tape you are using to achieve optimal results.