Using applicators for double-sided tapes can help simplify the application process and ensure a neat and efficient bond. Here are some general steps on how to use applicators for double-sided tapes:
- Select the Right Applicator:
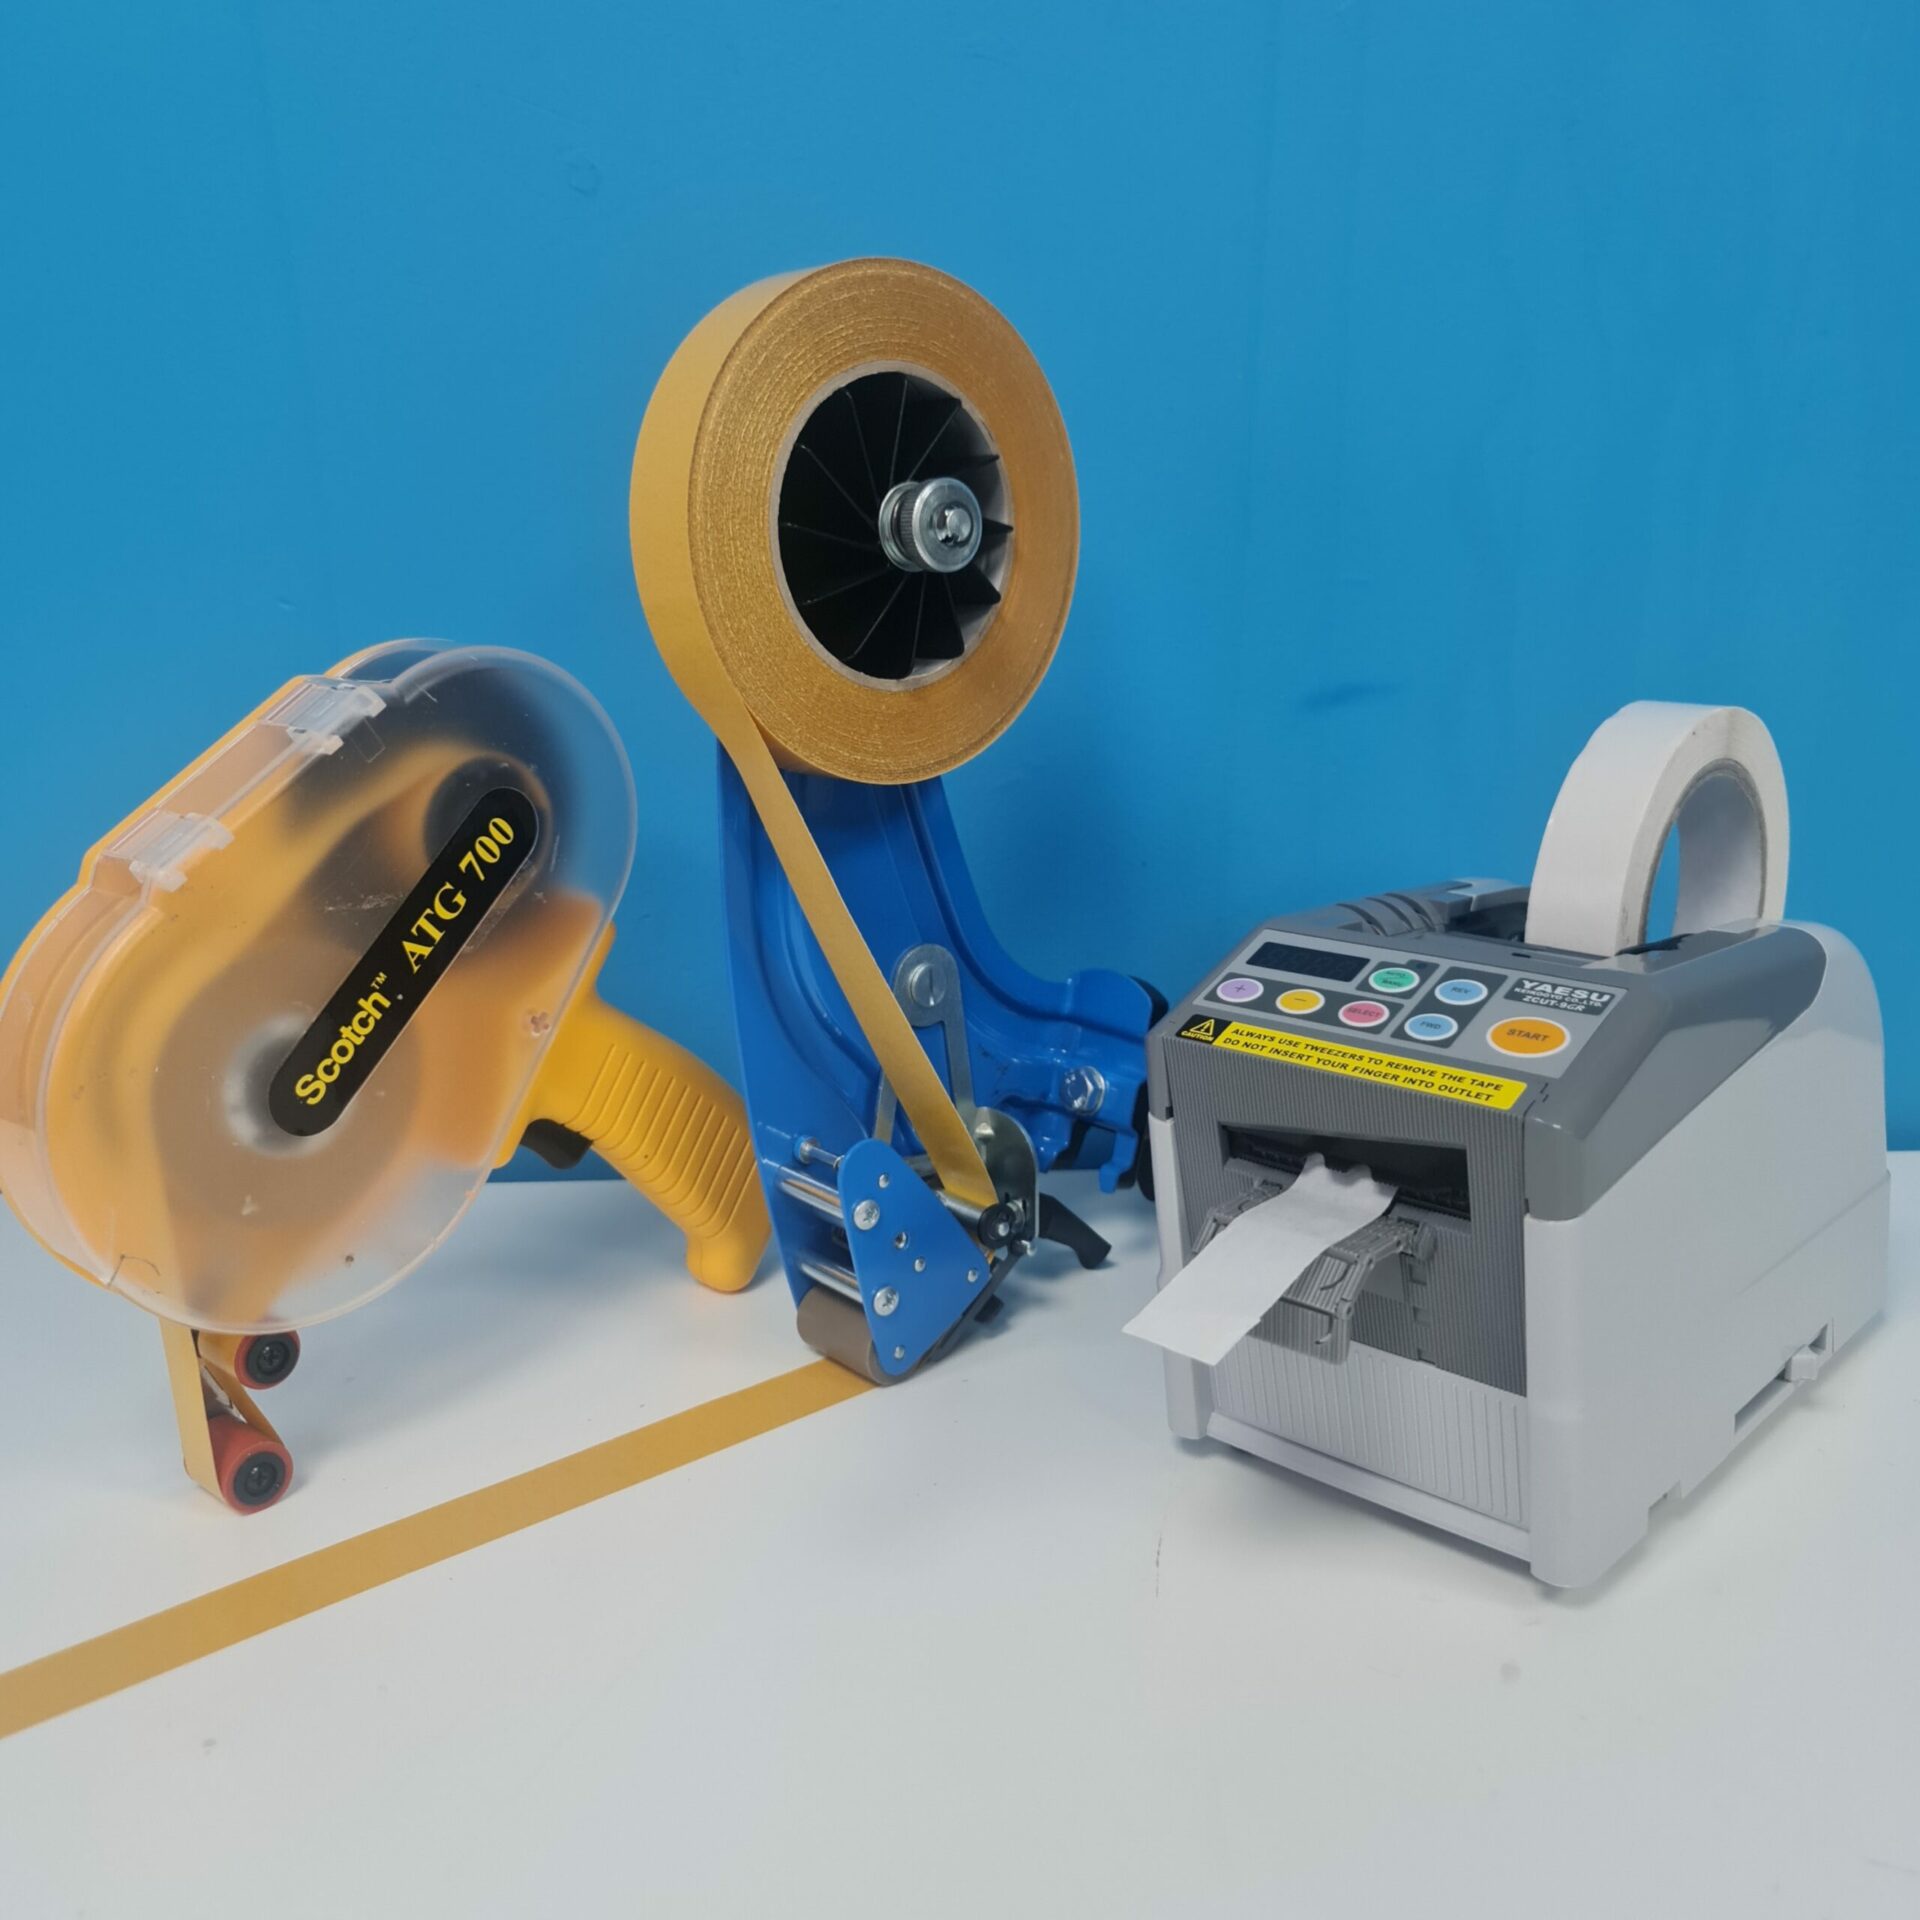
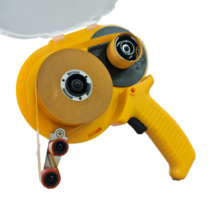
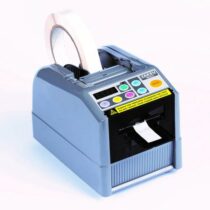
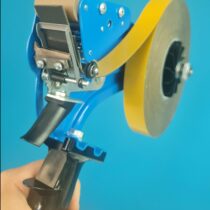
- Applicators come in various forms, such as rollers, dispensers, or tape guns. Choose the one that best suits your application needs.
- Prepare the Surface:
- Ensure that the surfaces you are bonding are clean, dry, and free of dust, oil, or debris. Cleaning the surfaces beforehand will promote better adhesion.
- Load the Tape:
- Insert the double-sided tape roll into the applicator according to the manufacturer’s instructions. Make sure the tape is properly aligned and ready for application.
- Adjust Tension and Settings:
- If your applicator has adjustable tension or settings, make sure to set them according to the thickness and type of material you are bonding.
- Apply the Tape:
- Roll or dispense the double-sided tape onto one of the surfaces. If using a tape gun, press the trigger or handle to release the tape.
- Smooth Out the Tape:
- Use a smooth, flat tool to press down on the applied tape. This helps to ensure good contact between the tape and the surface, promoting better adhesion.
- Remove the Liner (if applicable):
- If the double-sided tape has a protective liner, peel it off after applying the tape to expose the adhesive on the other side.
- Apply Pressure:
- Once both surfaces are in contact, apply firm and even pressure to the bonded area. This helps the adhesive to create a strong bond.
- Check Alignment:
- Ensure that the materials are properly aligned before the adhesive sets. Double-check the positioning, especially if you are bonding large or complex surfaces.
- Trim Excess Tape (if needed):
- If there’s any excess tape extending beyond the bonded area, use scissors or a cutting tool to trim it for a neat finish.
Always follow the specific instructions provided by the manufacturer of the double-sided tape and the applicator you are using, as different products may have unique requirements and recommendations for optimal performance.
 Tape Machines and Applicators